Simon Says Stamp Anything Goes!
.JPG)
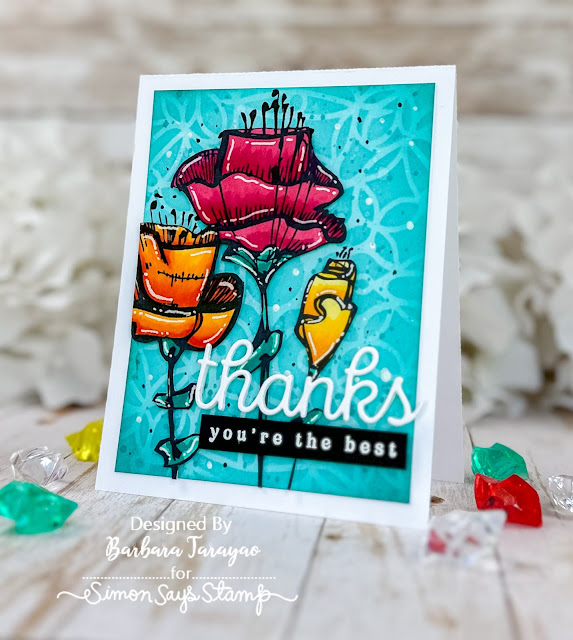
Hi all and welcome to another week of the Simon Says Stamp Wednesday Challenge . This week's challenge theme is Anything Goes! We are featuring exclusive products from Simon Says Stamp. You don't have to use them to join in but if you have some we would to see what you make. As always just for entering you will be eligible for the drawing of a $25 voucher to the Simon store! This week I am sharing the Simon Says Stamp Cherry Blossom emboss and cut folder . I am such a big fan of these folders! Such amazing quality and design. I have used the dies that are included with this folder to make an amazing splash of color! I created a panel from smooth white cardstock to fit an A2 size card base to ink blend with a mask I created from a landscape border die and distress oxide inks. I then embossed and cut lots of flowers from the Simon Says Stamp Cherry Blossom emboss and cut folder . I then colored them using copic markers. I fit them back into the embossing machine an...
.jpeg)
.jpeg)