Posts

Showing posts from March, 2024

Hero Arts Anything Goes

Image
 Hi all and welcome to another week of the  Simon Says Stamp Wednesday Challenge . This week's challenge theme is    Anything Goes! We are featuring products from Hero Arts. You don't have to use them to join in but if you have some we would to see what you make. As always just for entering you will be eligible for the drawing of a  $25 voucher to the Simon store . When I saw this adorable Hero Arts Fancy Dies Gumball Machine I just had to play with it. As a child I loved gumball machines. They were so fun!  I made this card with an A2 card base made from smooth white cardstock. I then trimmed down a panel cut from yellow cardstock and added it to the card base. Next, I die cut a scalloped rectangle from white cardstock and ink blended using distress ink. I die cut the Hero Arts Fancy Gumball die out white, silver and colored cardstock. I arranged them together on the ink blended panel using foam squares.  I then die cut the celebrate banner from colored cardstock and adhered t

Be Bold Hugs card

Image
Hello crafty friends! Just sharing a project I made using some goodies from the new Be Bold release from Simon Says Stamp. Enjoy! Feel free to leave me a comment if you have any questions. I love to hear from you! I made this card with an standard A2 size card base made from smooth white cardstock. I then ran another piece of white cardstock through the new Cherry Blossom embossing folder and trimmed it down and adhered it to the card base. I then die cut the new Whirl Blossom flower die from white cardstock and colored them using a blending tool and dye ink pads. I used a lighter and darker for each color. I glued the pieces of the flower together with liquid glue and added a gem stone to the centers. I arranged them in a semi-circle on the card. I then die cut the new Hugs die and shadow from white and metallic cardstock and adhered that to the card in the center of the flowers. Super easy card to make!! I hope you enjoyed the project I shared and got some inspiration! I have li

Simon Says Stamp Be Bold Release Blog Hop - Day 1

Image
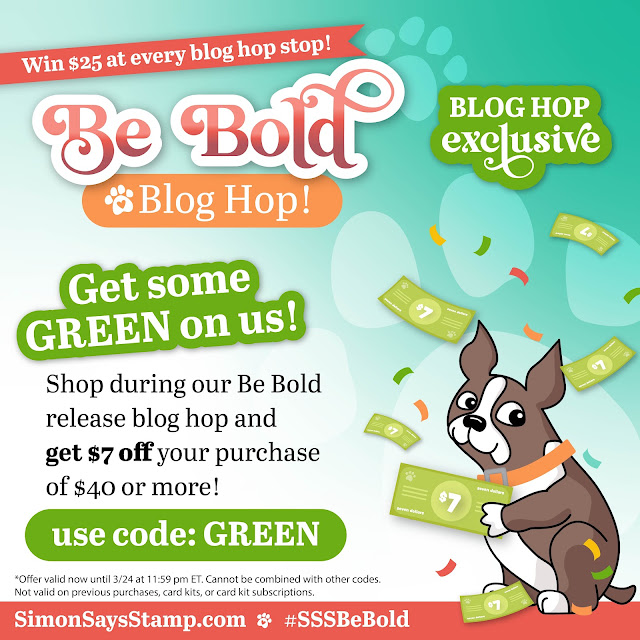
I'm happy to be participating in day 1 of the new Simon Says Stamp Be Bold  blog hop. I am sharing a couple of fun projects using some goodies from this new release .  Make sure to take advantage of the special hop promotion! 👆👆👆Also, Simon is giving away a $25 shopping spree to a lucky winner! The winner will be picked from the comments left along the hop. Each comment you leave will be an entry into the drawing.  REMEMBER:  If you want to leave a comment on this post, make sure you include your name so we can reach you if you are selected for the giveaway!  This first project features the new CZ Happy die . I just love the simple elegance of this font! I began with an A2 size card base cut from smooth white cardstock. I then trimmed down a panel from plaid pattern paper and added a white strip of cardstock to the bottom. I then die cut flowers from several flower dies in my stash from colored cardstock. Using liquid glue I adhered them to the plaid panel with foam squares. I t

Simon Says Stamp Be Bold release day

Image
It's release day! I'm happy to be sharing a project I made with some of the amazing items from the new Simon Says Stamp Be Bold release . I thought the new Branching Flowers embossing folder would be amazing for this technique I have been seeing a lot of lately. I have an Instagram reel showing the process of how I made this project. This was a pretty fun card to make. I just embossed a piece of white cardstock and ink blended the flowers and the leaves liberally with distress oxide ink and a small blending tool. I then dragged a black ink pad over the de-bossed areas leaving behind the color in the "valleys" of the panel. I let it dry for a few minutes and then I splattered some gold mica paint all over.  I then used the new A2 Nesting Frames to cut out a gold frame and glued it to the inked and embossed panel. I trimmed it down and adhered it to an A2 size card base made from white cardstock. I then die cut the new CZ Happy die from more gold cardstock and heat emb

Picket Fence Easter/Spring

Image
Hi all and welcome to another week of the  Simon Says Stamp Wednesday Challenge . This week's challenge theme is    Easter/Spring We are featuring products from  Picket Fence . You don't have to use them to join in but if you have some we would to see what you make. As always just for entering you will be eligible for the drawing of a  $25 voucher to the Simon store . I chose to make a Spring project for this week's challenge. This card combines flowers and Mother's Day. Perfect for a Spring theme! I began with an A2 size card base from smooth white cardstock. I then cut a panel to fit the entire front of the card base to ink blend using distress oxides and a blender brush. Using the Picket Fence paper glaze and a pallet knife, I added a thing layer over the ink blended panel. I set aside to completely dry. I then ran the panel through the embossing folder to create a gorgeous textures background. I then die cut the floral cover plate once from white cardstock and once

Exploding Wedding Bouquet card

Image
Want a special card for the happy couple? Love soft colors and lots of florals? I think I got you covered! Today's post is a wedding card that has both a wow factor while still achieving elegance. I rummaged through my stash to find some of my favorite floral dies to make this amazing project.  This card was made with a top folding A2 size card base. Then I trimmed down panel that is ink blended in a soft cream color on the edges and the middle. Using an embossing folder and a white piece of paper I trimmed down a rectangle and ran through the embossing folder to add a texture pattern. I then die cut several dozens of florals ranging in small to large sizes out of white cardstock. I used liquid glue to layer some together and a soft cream copic marker to add some color detail to most of the flowers. Using 3d foam squares I adhered the triangle and the flowers on the inked panel. First tightly then more loose around the bouquet. I then die cut a bow from more white cardstock and glu

Pretty Pink Posh A Bit O' Green

Image
Hi all and welcome to another week of the  Simon Says Stamp Wednesday Challenge . This week's challenge theme is    A Bit O' Green We are featuring products from Pretty Pink Posh . You don't have to use them to join in but if you have some we would to see what you make. As always just for entering you will be eligible for the drawing of a  $25 voucher to the Simon store . Some people make traditional St. Patrick's Day meals, wear some green that day for luck or look for the end of the rainbow! All these fun traditions make this holiday fun even if you are not Irish! Today I'm sharing a St Patrick's day inspired project for this challenge.  I created a top folding A2 size card base from smooth white cardstock. I then used a wonky stitched die to create a panel to ink blend with distress oxides for a bright background. Using the Pretty Pink Posh Stitched Shamrocks die set I cut them from white, green and pattern cardstock. I added some gold splatters and white ge

Rainbow Easter Bunny Faces

Image
Let's make a card full of rainbow bunny faces! Anything goes with rainbows, even Easter! I am featuring an adorable new stamp set from the latest Simon Says Stamp Splendor release . This is the Bunny Trails stamp set . Just love how the bunny faces are shaped like eggs! So clever! I created a side folding A2 size card base from smooth white cardstock. Using the wonky stitched rectangle die I cut a panel to ink blend with oxide inks. I used a rainbow of colors with a small round blender tool. I then added splatters of the same color inks with a paint brush. I then stamped the bunny faces from copic friendly black ink and colored them in using copic markers in the sam rainbow order. I fussy cut them out (yes i'm one of those people who enjoy fussy cutting) and popped them up on the inked panel with foam adhesive. I added some white gel pen detail to the faces. I stamped the sentiment onto white cardstock with clear ink and embossed it using gold embossing powder. I then die cut o