Sizzix Snowflake Rosette
I am sharing a project featuring the gorgeous Sizzix Snowflake Rosette die. This die is a special promotion over at the Simon Says Stamp store. If you purchase $30 of Tim Holtz products you will get this die for free!
.jpeg)
To make the snowflake:

The set comes with the Snowflake Rosette panel die, a circle die and a snowflake die.

First, you will want to cut out the snowflake rosette panel die 3 times from whatever paper you choose. The die will leave scorlines where to fold.

Cut out the snowflake and circle die.

Fold the panels accordion style using the scor lines. Depending how thick or thin you paper is you might need a scorboard to help with easy folding.

Once you have folded your three panels, add double stick tape to each of the ends. Line up sticky end to and tapeless end to look like a row of paper dolls.
.jpeg)
Hold down the taped rosette when taped together while to add liquid or hot glue to the circle die which you will add over the center to cover the hole.
.jpeg)
I used liquid glue so I added a stamp block over the snowflake until it was dry.

I turned it over when I was dry and added glue to the snowflake.

I added the snowflake to the center of the top and again added a stamp block to hold it in place while it dried.

It should look something like this when you are done. I added distress ink and glitter to my snowflake rosette and a sentiment cut from silver cardstock to create a fun holiday card that the receiver can use for and ornament.
.jpeg)
This was super fun to make and I think it would be amazing to create a whole bunch for a christmas tree! I have provided affiliate links to all the products used. Thanks for stopping by and happy crafting!
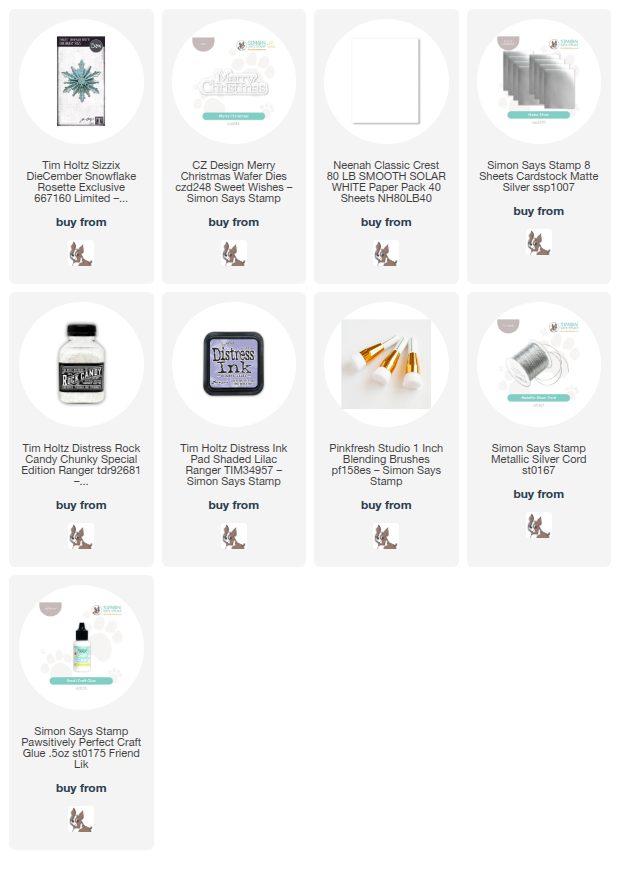
Supplies:


Comments
Post a Comment