Watercolored Backgrounds
Hello my crafty friends! Today I made a couple of watercolor backgrounds. I struggle with watercoloring and today I just wanted to have some fun with it! These are easy easy to make. I have a short reel over on my Instagram page showing what I have done.
.jpeg)
I began with a piece of watercolor paper. I taped it down so it would not warp with all the water I would be using. I used a couple of drops in a plastic pallet for each color I wanted to use. I am using distress reinkers but you can use any dye reinker. I used three sizes of watercolor brushes to create vertical and horizontal line. I used my heat tool each time to avoid bleeding into each color.
.jpeg)
I then dropped more ink onto a clear block and with a little bit of water I splattered drops over the panel.
I used my heat tool again and removed the tape. I then die cut the watercolored panel using the
A2 size thin frames to cut it out. I also cut the frames from gold cardstock. to frame my watercolored panel in gold.
A2 size thin frames to cut it out. I also cut the frames from gold cardstock. to frame my watercolored panel in gold.
.jpeg)
For this background, I taped down another piece of watercolor paper. I added clean water over the entire surface. I then dipped my paint brush into the distress inks on the pallet and just randomly added splotches of color all over. Just some yellow here then some pink here. You get the idea! I heat set it and then splattered more ink just like the first panel.
.jpeg)
I die cut a multi-layered flower from my stash cut from white cardstock and added to the top of my card. I distressed it a bit with copic markers. I also die cut the happy from one piece of gold cardstock and twice from heavy cardstock to layer them up and adhered it to the white shadow and then to the panel. I embossed the sub-sentiment with gold embossing powder and die cut it out and adhered to the happy.
.jpeg)
I hope you enjoyed the projects I shared and got some inspiration! Give this fun watercolor background a try! It's nice to have a bunch on hand to turn into cards. For your convenience, I have listed and linked all the supplies I used. Thank you so much for stopping by and happy crafting!
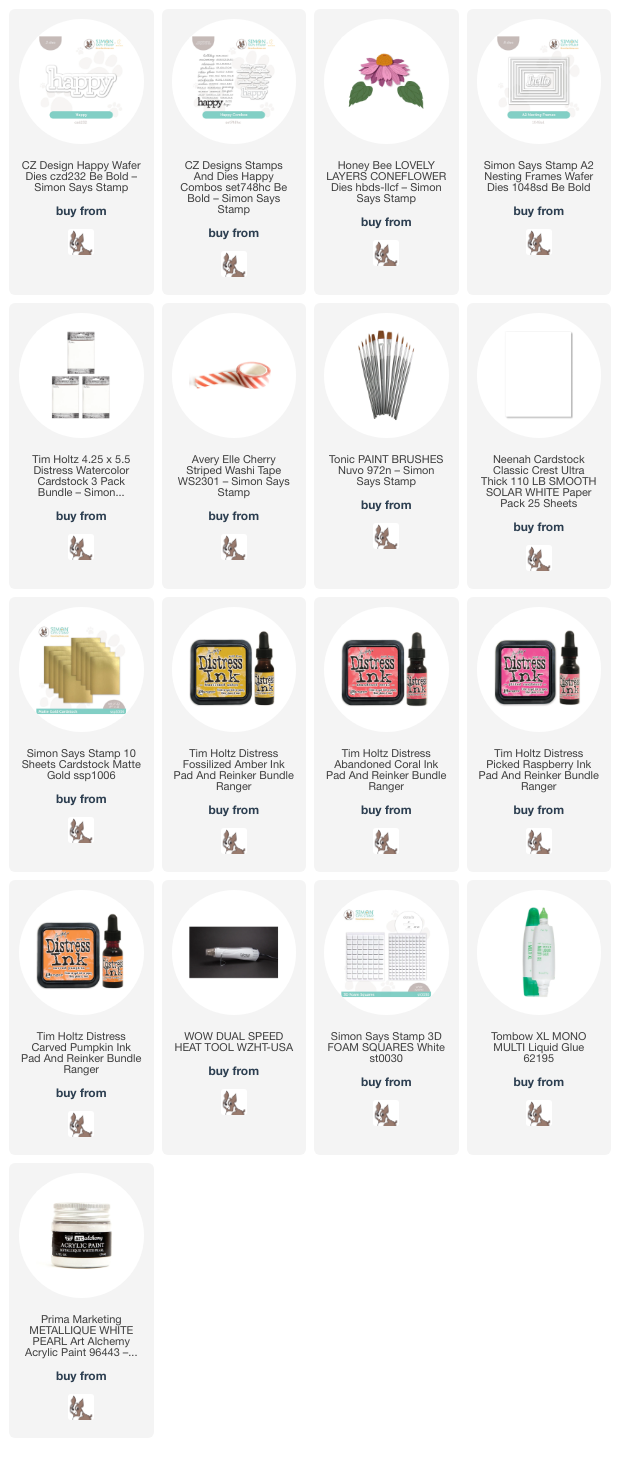
Supplies:


Fantastic 👏
ReplyDeleteVery cool cards! Love those backgrounds.
ReplyDelete