Simon Says Stamp March Card Kit
I'm happy to share a couple of projects I made using the Simon Says Stamp March Card Kit. This kit was packed full of fun goodies to play with including two action wobblers! I have made two interactive cards to share with you! Make sure you grab this kit before it's gone!
I made this card with an A2 size card base made from smooth white cardstock. I then die cut another piece of white cardstock to create a wonky stitched panel. I used distress inks to ink blend a background for the butterfly.
I stamped the butterfly image from the Simon Says Stamp Mix & Match Butterflies stamp and die set from the kit using versamark ink and heat embossed with gold embossing powder. I then used my Karin brush markers to color in the butterfly. I fussy cut it out (there are coordinating dies available) and adhered it to the card using one of the action wobblers. The sentiment is also from the stamp set.
I made this second card with an A2 size card base with smooth white cardstock. I then cut a panel from the gold cardstock that came in the kit to run through the Dibble Tile embossing folder that also is included with the kit. I trimmed the panel down to leave a bit of a white border.
I did the same heat embossing with gold embossing powder as the first card. Again, I colored the butterfly using Karin brush markers and popped it up on the card with the an action wobbler. I then die cut the Happy Wishes from more of the gold cardstock and added that below the butterfly for a great birthday card!
I hope you enjoyed the project I have shared today and got some inspiration! This is an amazing card kit and such a great deal! I have listed all the items I have used to make these projects for you convenience. I do have affiliate links as no additional costs to you! Thank you for stopping by! Happy crafting..
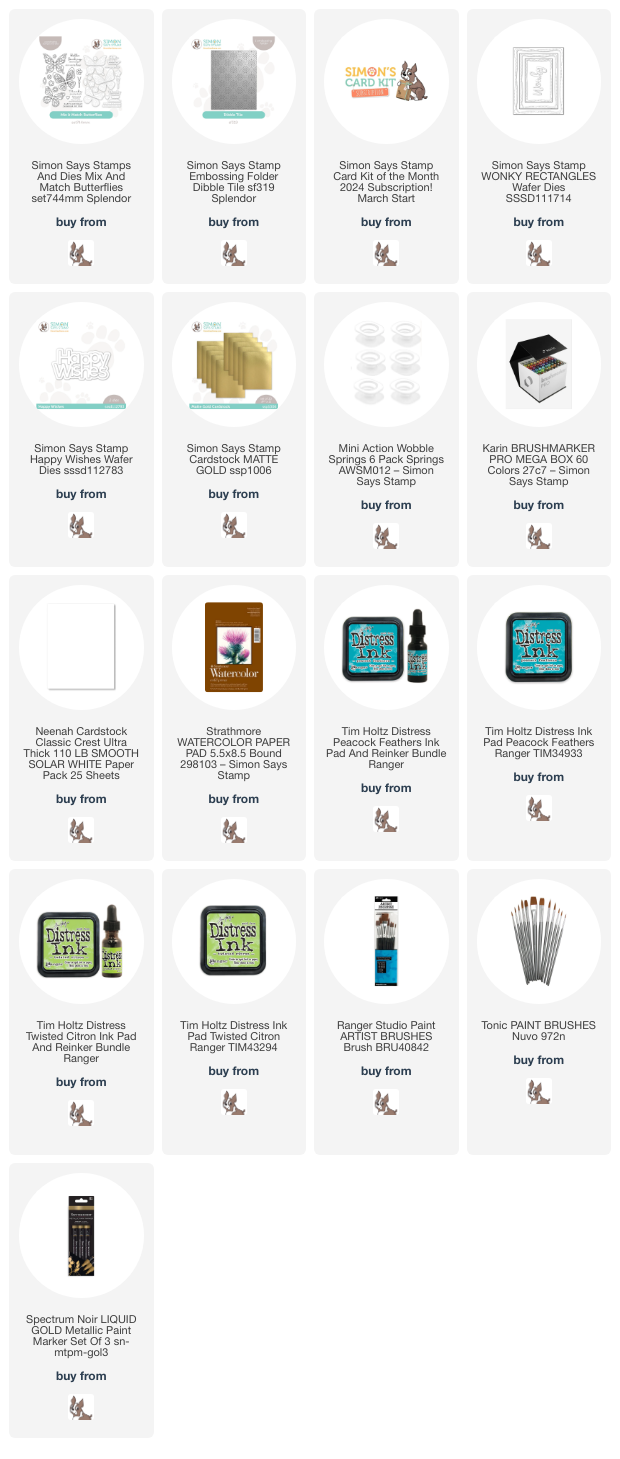
Supplies:

.jpeg)
.jpeg)

.jpeg)
.jpeg)


Just realized you’ve got a new blog! These cards are so beautiful. Love all the steps/details you’ve shared. Thank you💚
ReplyDeleteOops that anonymous is me🙋🏻♀️~ Cindy Cottrell
ReplyDeleteThank you Cindy!!
DeleteThank you so much for the wonderful inspiration and tutorial
ReplyDelete